This post belongs to a series about the Ventoux:
- Maintenance 1 on the 2020-04-27
- Maintenance 2 this post
- Maintenance 3 on the 2023-04-29
- Maintenance 4 on the 2023-09-17
- Maintenance 5 on the 2024-10-13
Issues arising
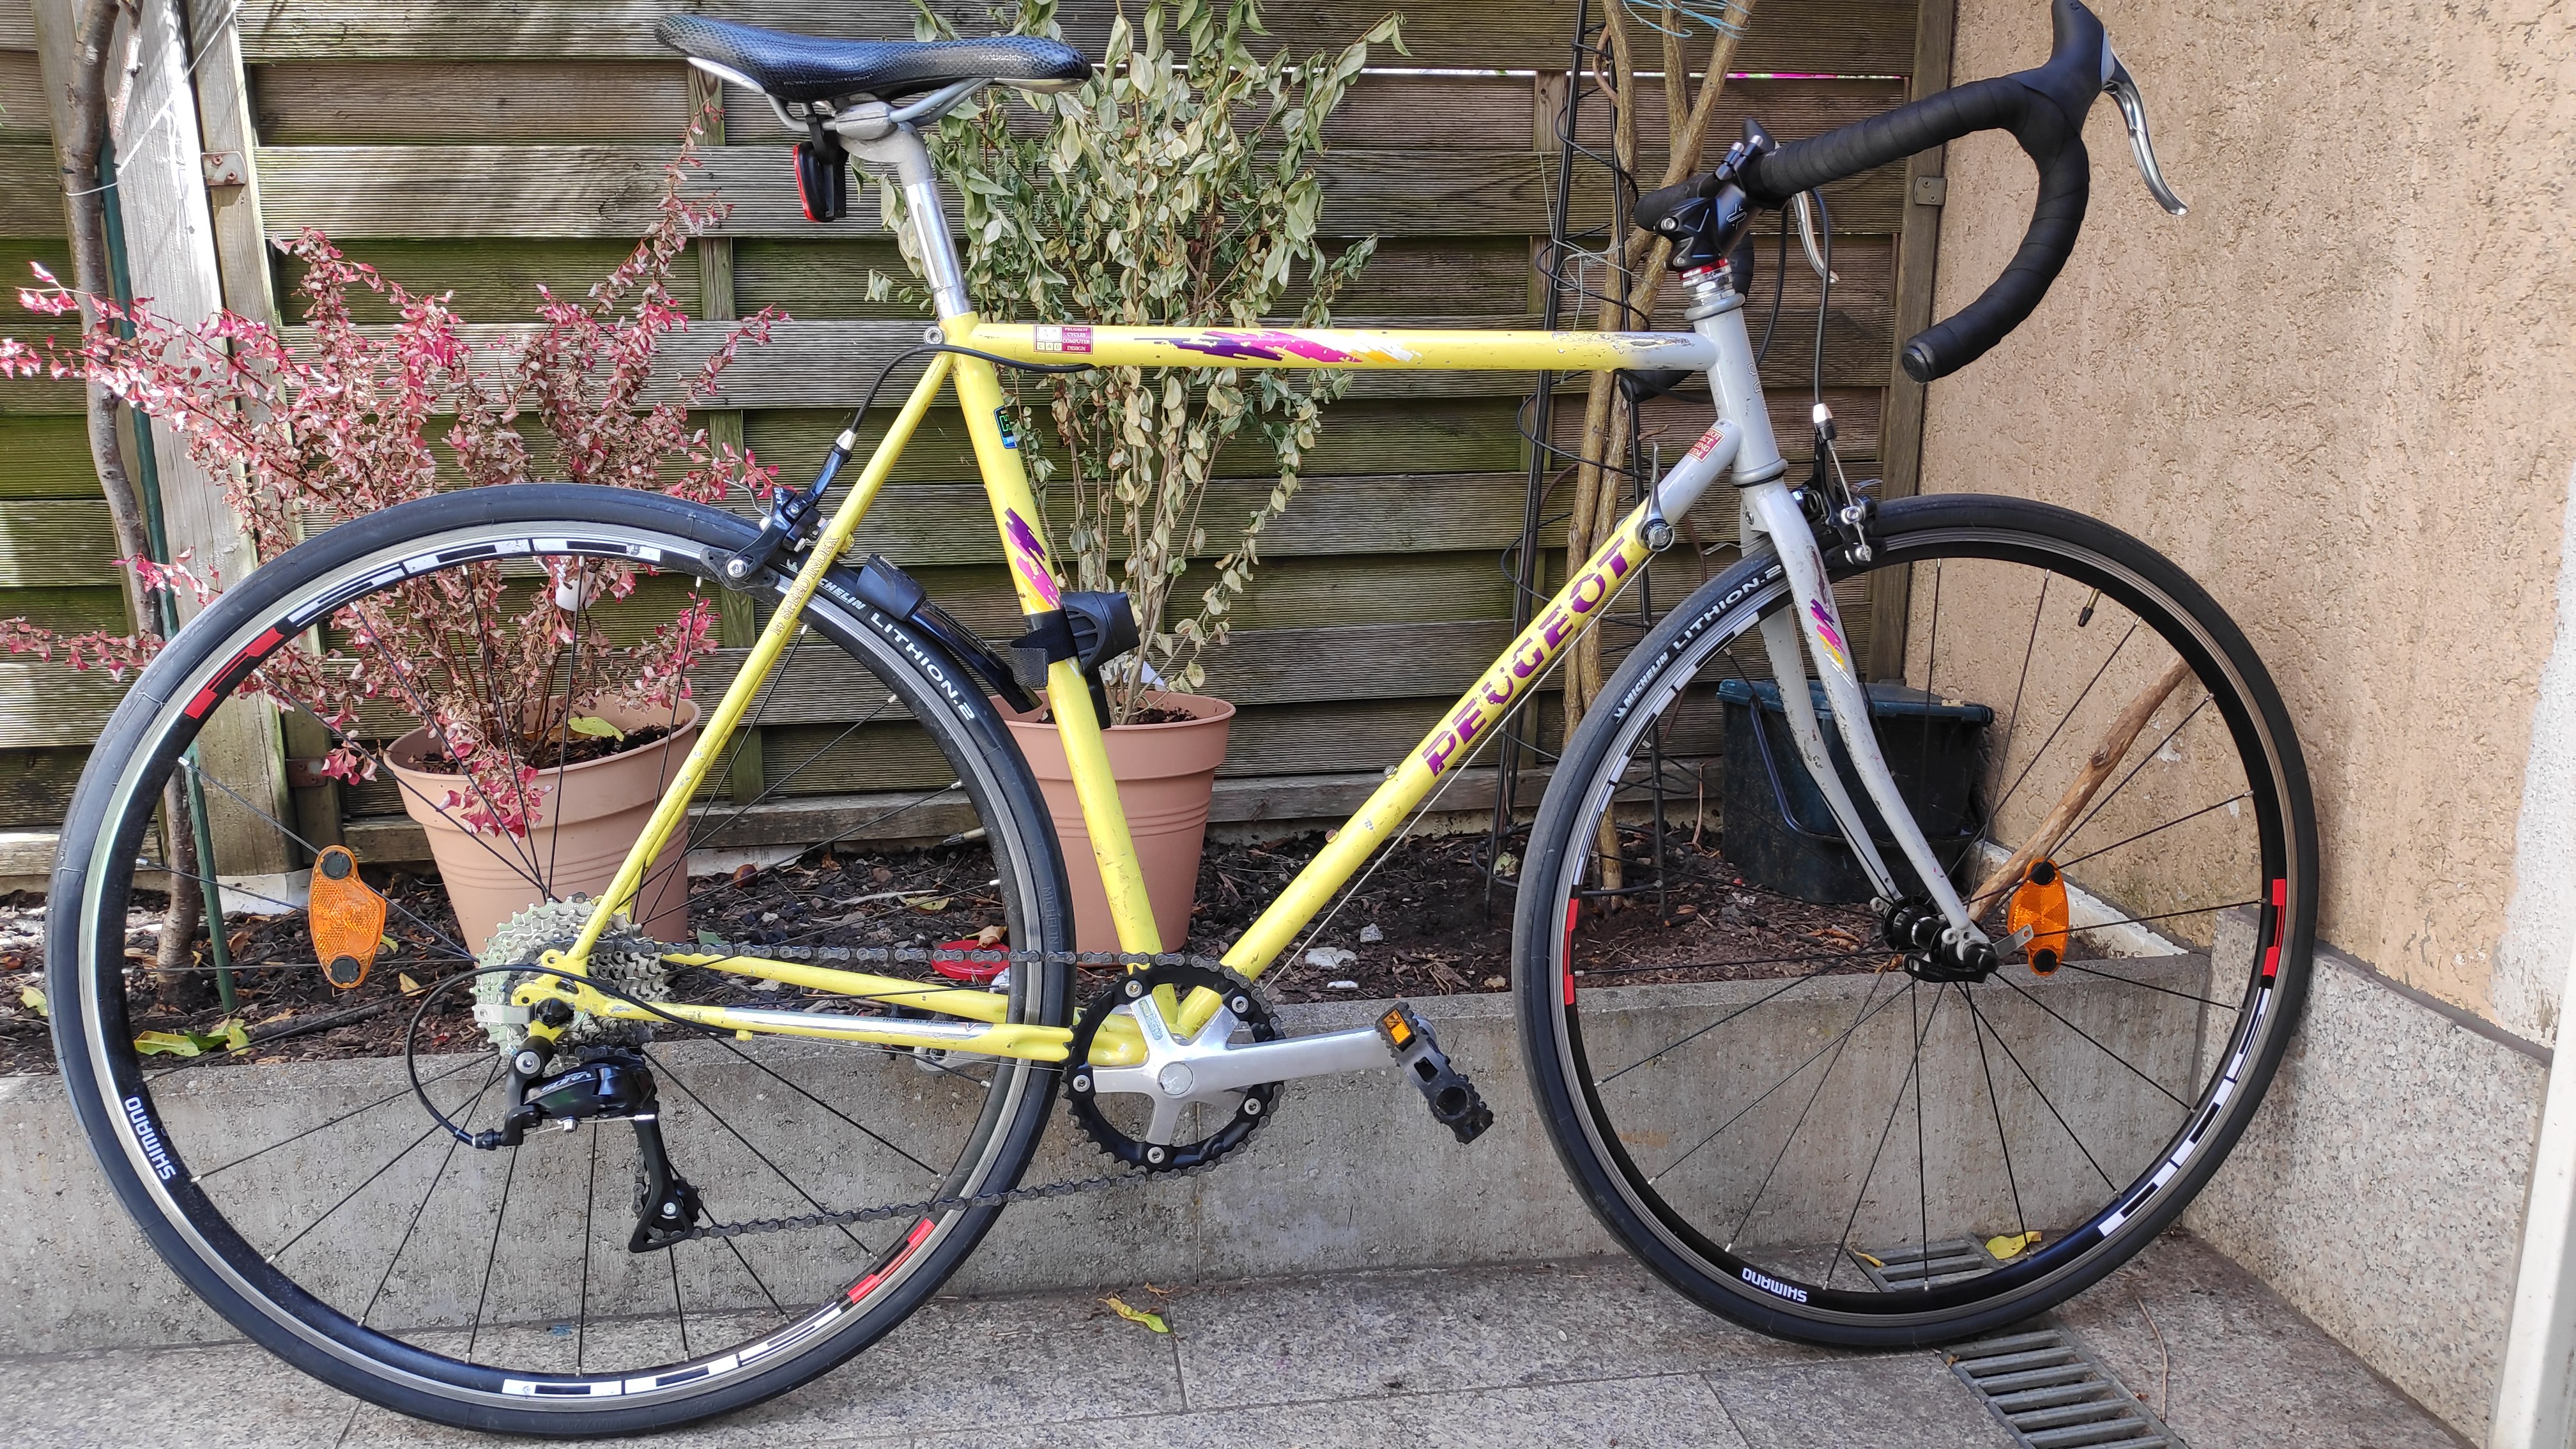
The bottom bracket
After riding the bike daily a few months, it started to present some problems. Most annoying and concerning: the bottom bracket. This piece is at the bottom of the frame, exposed to water splash and contains the axle attached to the pedals.
The role of bottom brackets is to transmit the pedaling force to the chainring: quite important!
It was wobbling and I knew nothing about replacing it, nor just removing it (which turned out to be the critical problem!). It was obvious it was rusty because of its age and the location. Another issue is to find the right model. A bottom bracket is less than 20 euros but which one is compatible 30 years later with mine? My trustful Danish friend advised me wisely to look into the Sheldon Brown bottom bracket database.
Sheldon Brown looks like a wonderful man whose tireless collection of information was so valuable that beyond his death, friends continue to maintain it online. Kudos to him and them.
Dimensions from France, Italy, UK are all reported and I managed to find out that the Shimano BB-UN55 should fit (and it did).
| Item | Quantity | Price |
|---|---|---|
| PTO147795 Park Tool CT-3.2 Chain Tool | 1 | 34.40 |
| PTO111383 Park Tool BBT-22 Bottom Bracket Remover | 1 | 19.65 |
| SHI123592 Shimano BB-UN55 Bottom Bracket JIS Square | 1 | 13.75 |
Chainring and derailleur
So far I had cleaned up the original chainring and derailleur Exage models.
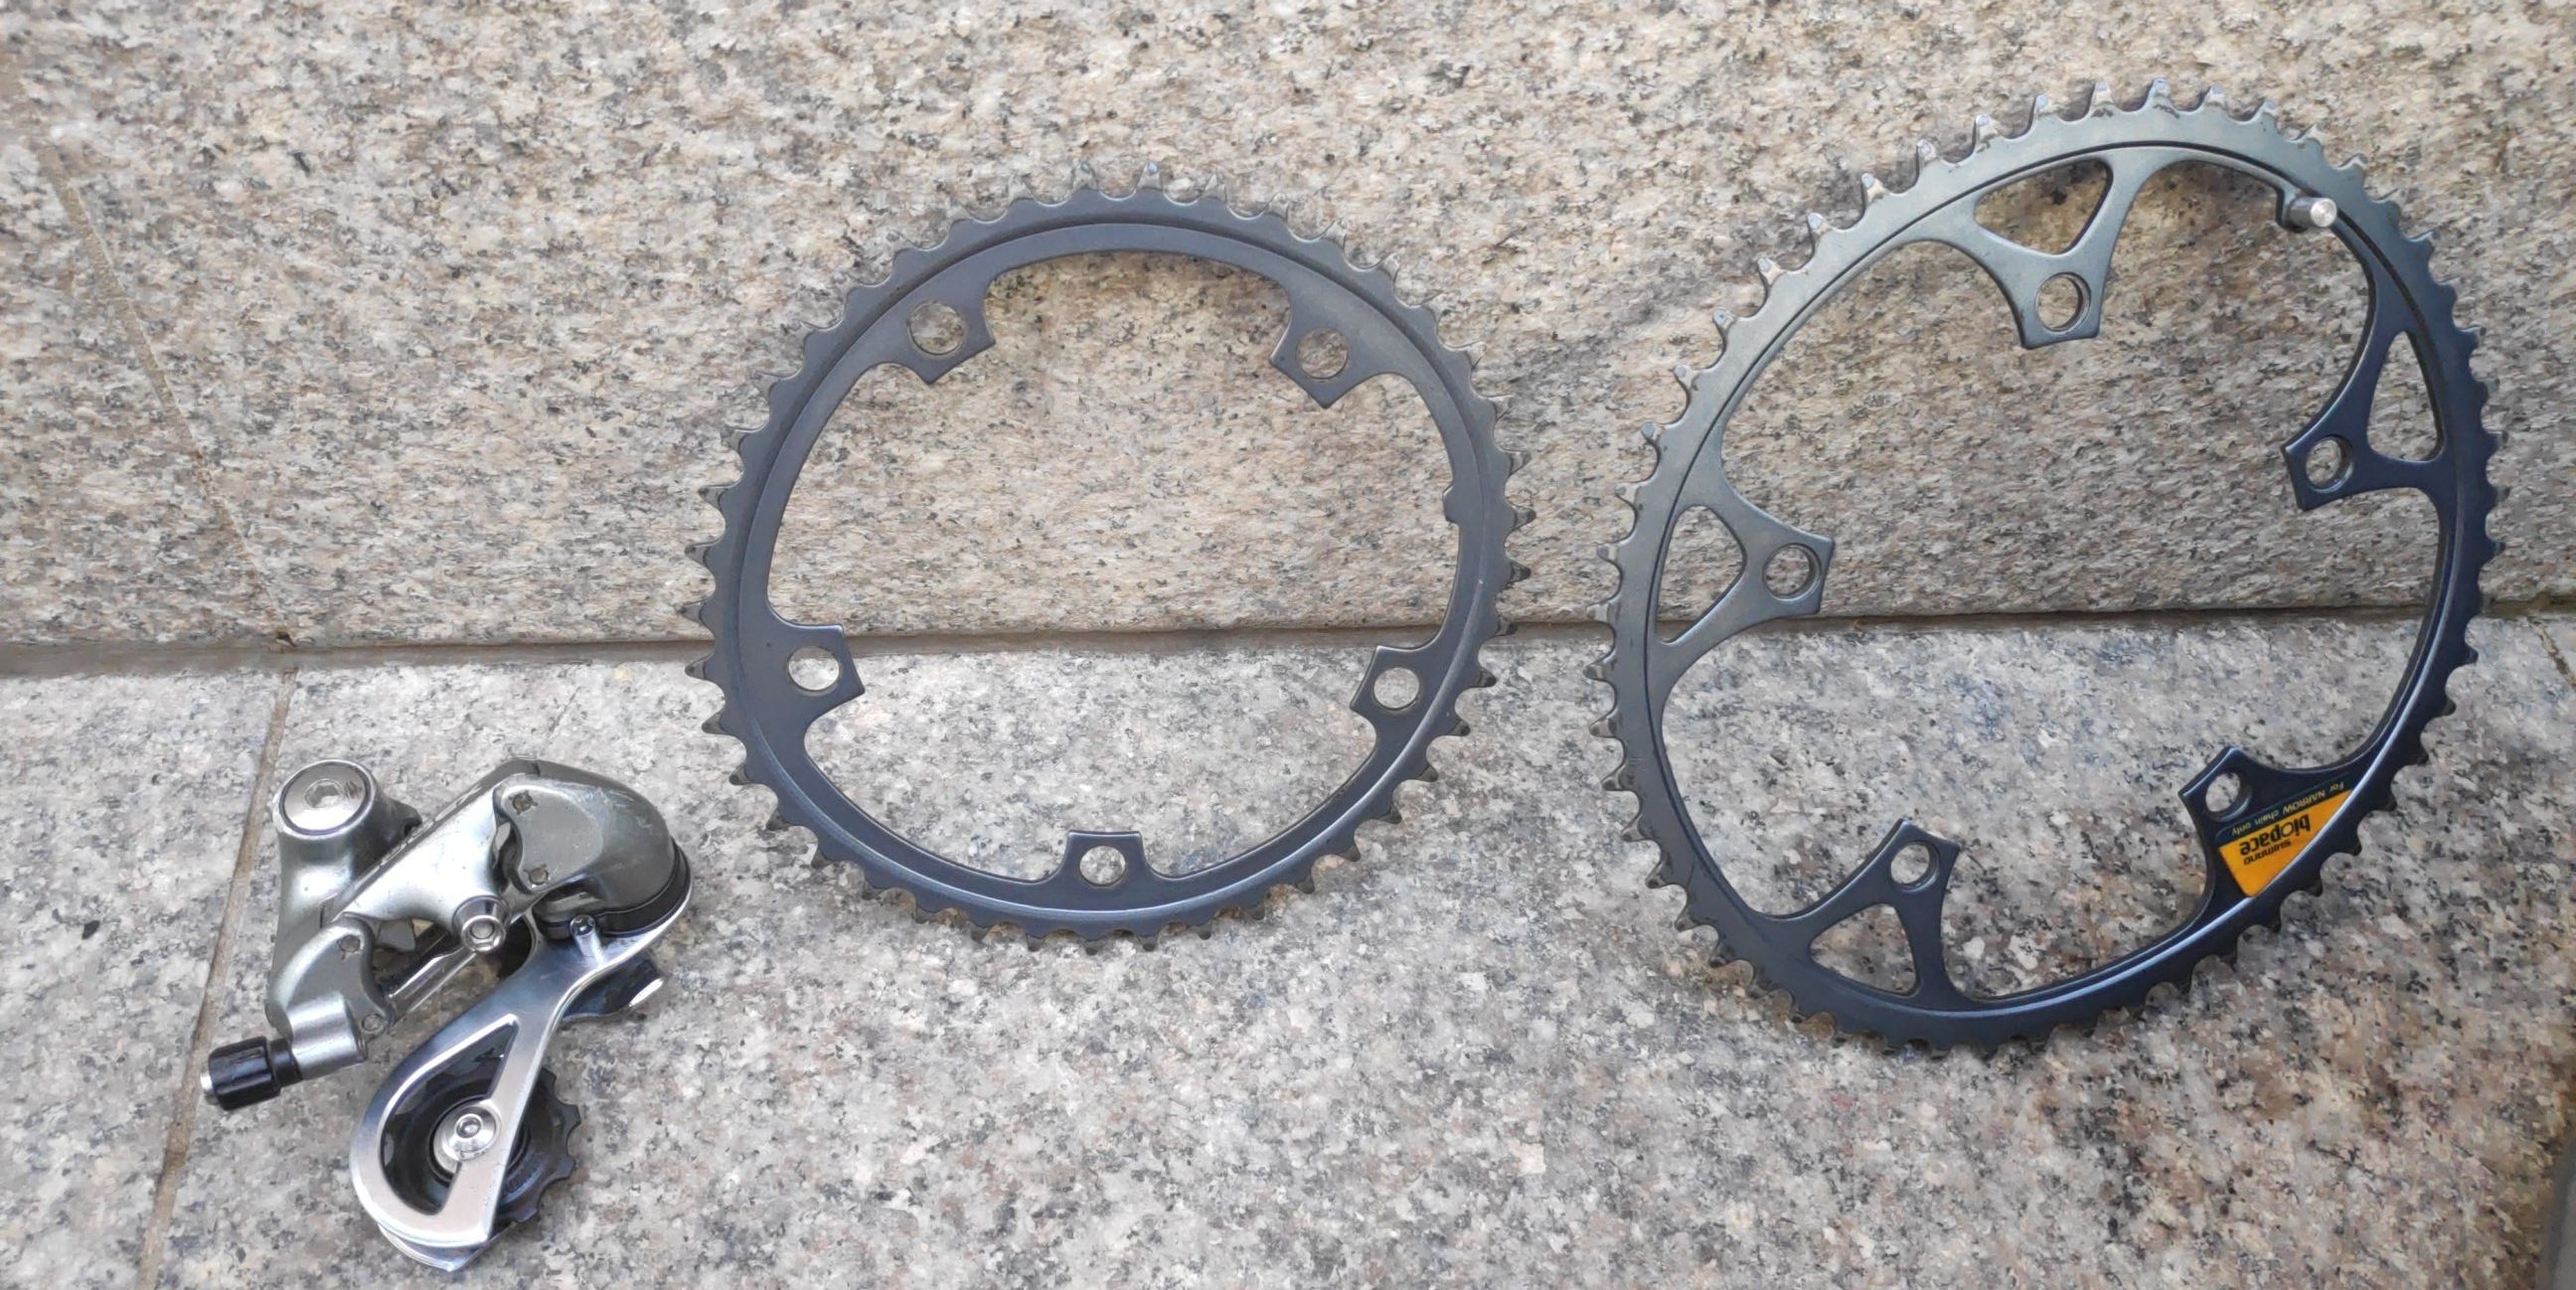
But the large chainring with its enormous 52T was too big for a commute bike. Derailleur was working ok, but I was also curious to install one, even if I had no experience. No derailleur hanger to be seen, it was directly screwed in the frame. Did a try with a Sora basic derailleur purchase.
Handle bar and tape
Since I need to order those transmission items, I took the opportunity to also changed the handle bar. I was already happy with a gravel bike which handle bar was fairly large (compare to road bike). The price was reasonable and it was worth also learning about the stem, headset config, dismantle and remounting all this.
| Item | Quantity | Price |
|---|---|---|
| XLC ST-M15 Comp 31.8 Stem Base Angel - Length: 35° - 60 mm | 1 14,74 EUR | |
| XLC ST-L03 Ahead-Adapter for Threaded Forks | 1 | 13,75 EUR |
| Control Tech One Handlebar Width: 44cm | 1 | 24,57 EUR |
| Deda Handlebar Tape Color: Gun Barrel Grey | 1 | 7,86 EUR |
| Deda Handlebar Tape Color: Night Black | 1 | 7,86 EUR |
| FSA Spacer Polycarbonate 1 1/8” (1 pcs) Color: red | 1 | 0,88 EUR |
| Shimano CS-HG400-9 Cassette 9-speed Ratio/teeth: 11-32 | 1 | 18,67 EUR |
| Shimano Sora Chainring for FC-3503 - 3x9-speed - black 39 teeth | 1 | 11,79 EUR |
| Gebhardt Chainring Bolt Niro Length: 5,4 mm | 5 | 14,50 EUR |
| Shimano Sora RD-R3000-GS Rear Derailleur 3x9 medium | 1 | 22,60 EUR |
Installing a new transmission
I postponed the bottom bracket replacement as it was really stuck. The handle bar though was easy enough, placing the tape took me a long time because I was carefully all steps of the necessary Calvin Jones YouTube videos. The chainring I wanted only one, it is easier to maintain and it makes not much sense for a commute bike to have more. I chose a number of teeth in between my 2 current ones. I picked arbitrary 39 teeth, was a good pick. The derailleur, I knew the frame can handle cassettes of 7 speeds. But the lowest I found online was 9! I did a try and thanks to the magic of steel, I could enlarge the frame a bit and it fits. Derailleur went screwed on the frame as the original one and looked ok. The main issue was the number of links to keep on the 9S chain. I did a bit random, followed Calvin Jones advice but was not so great.
The derailleur was too much under tension I now observe.
Note about the front derailleur
Concerning the front derailleur, I removed everything. See here a close-up:

However, I had a big crash one day, chain got suddenly stuck and I felt badly. I never understood what happened. A Russian friend advice me to install back the chain guide from the front derailleur. So I did and 4 years later this issue never happened again. I keep the front derailleur installed but removed the cable and even the lever.
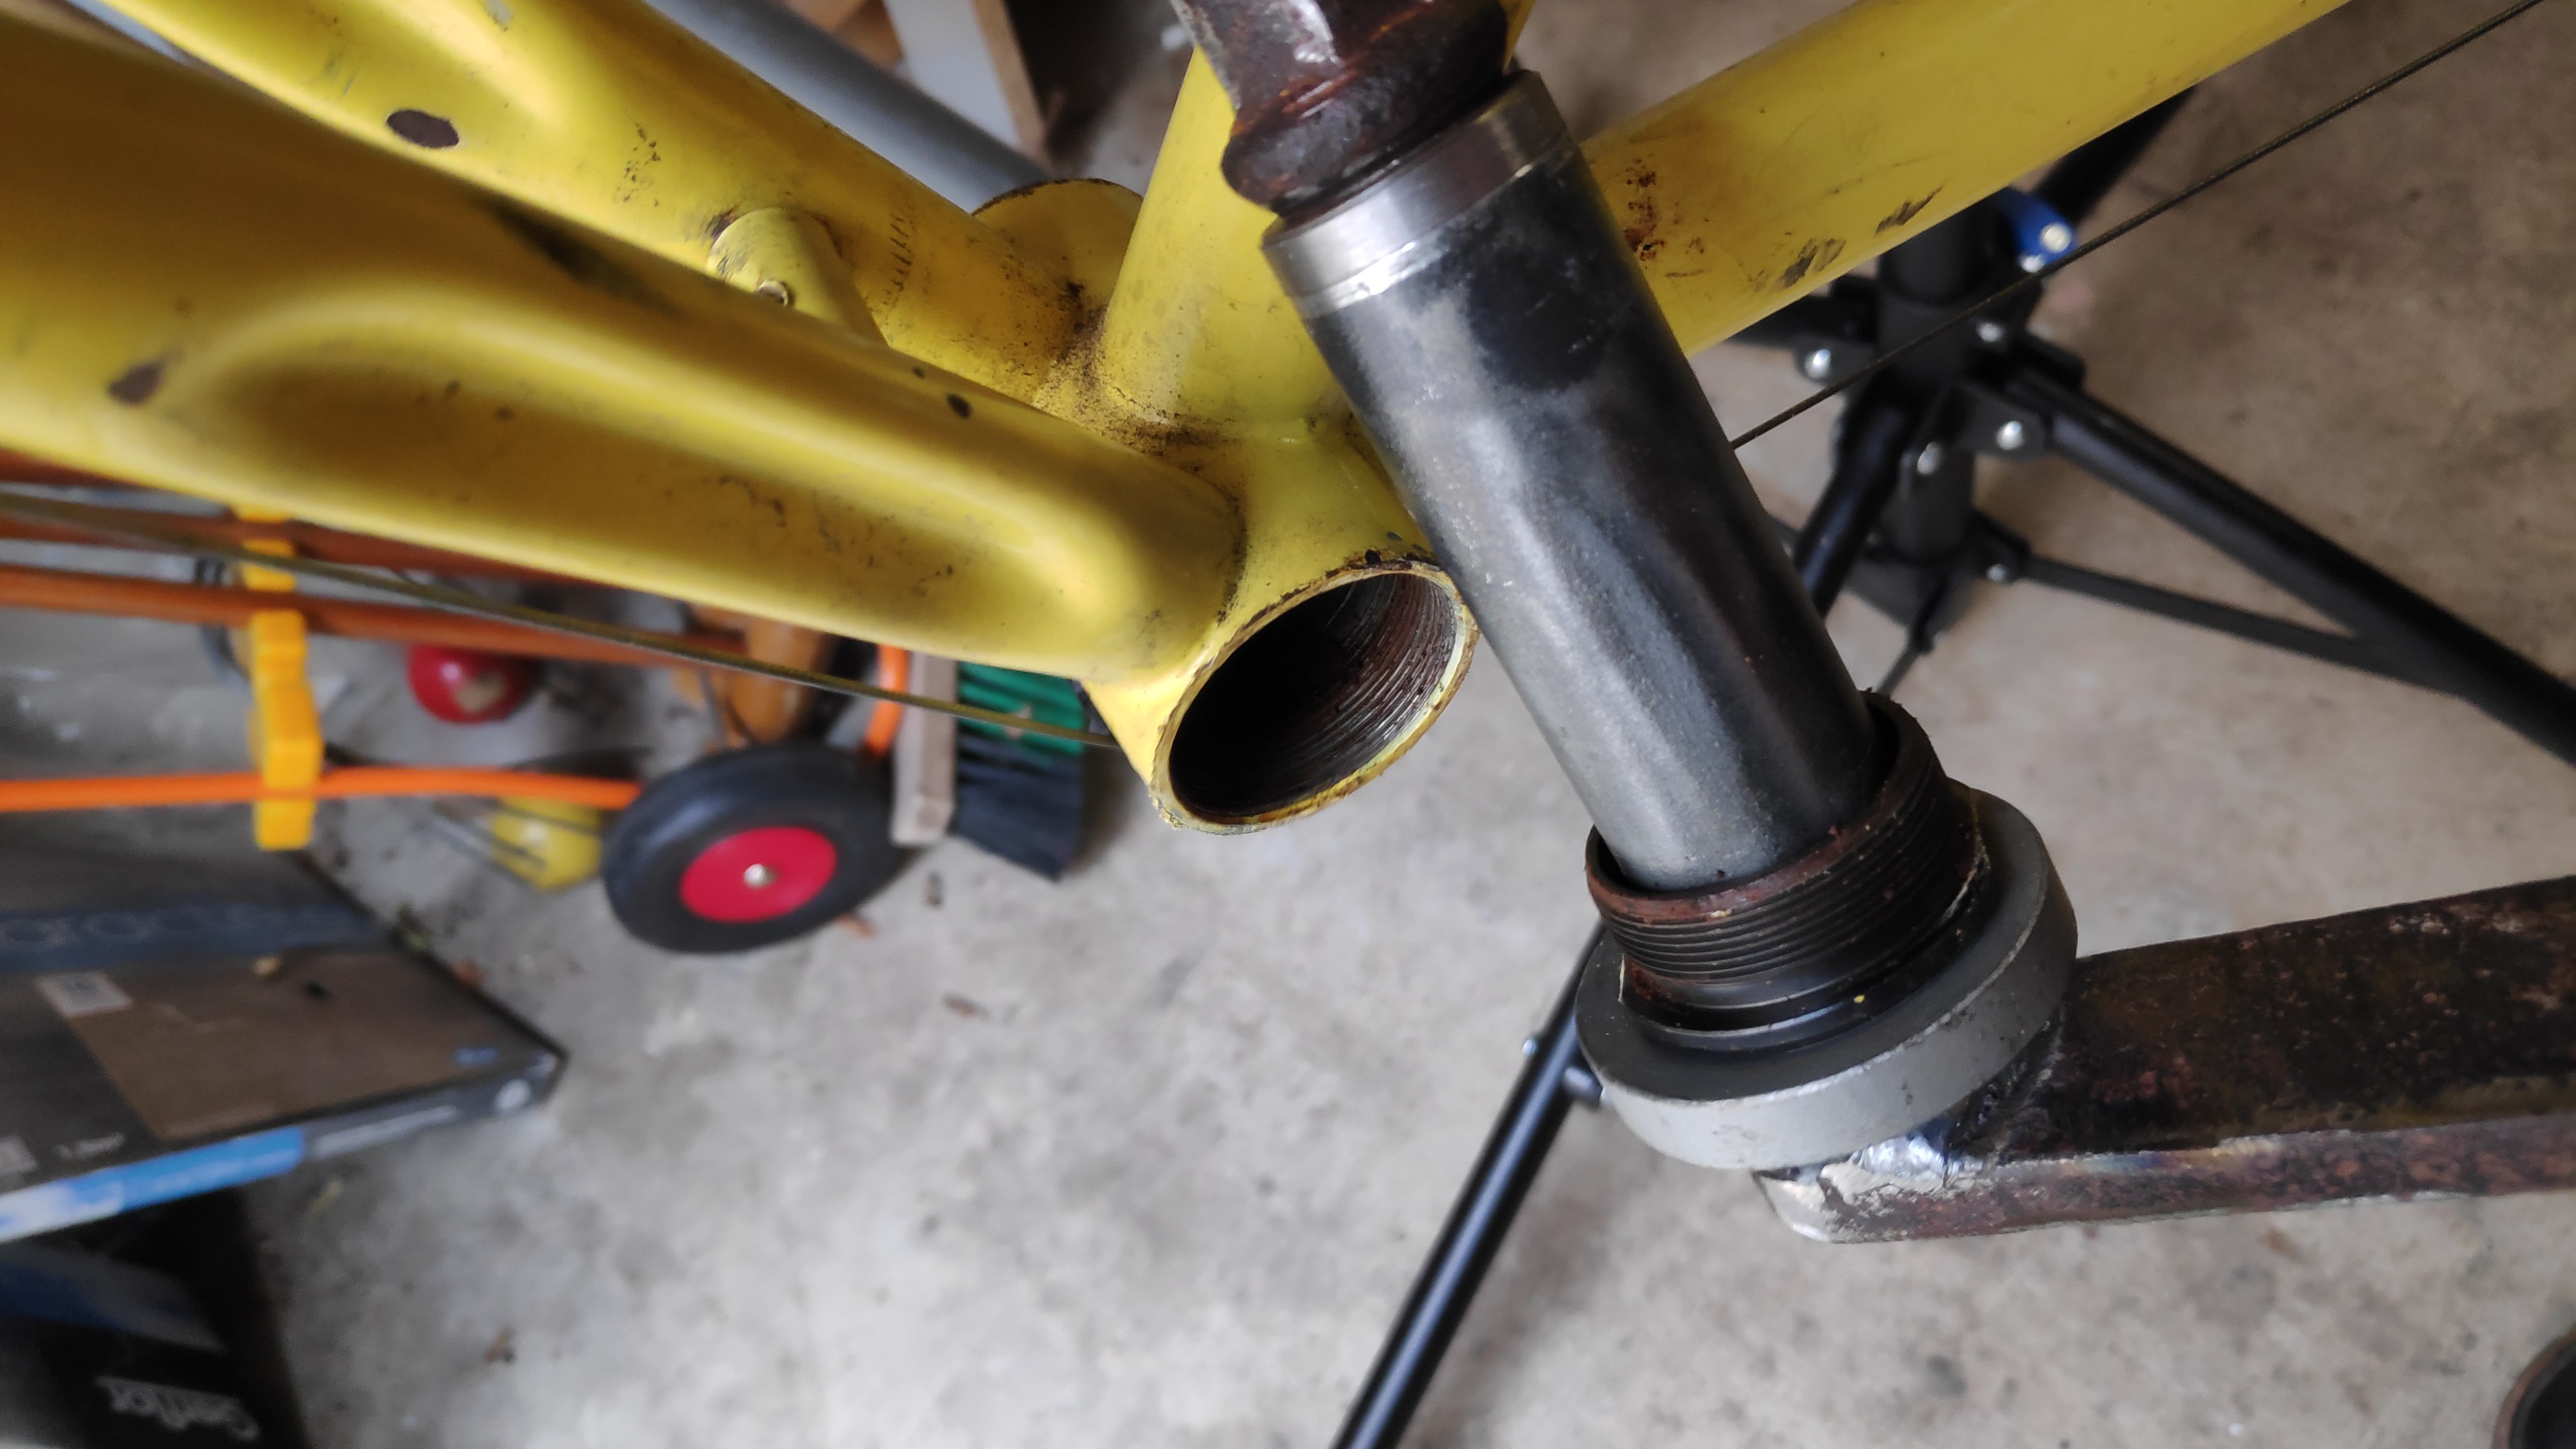
Got the bottom bracket out!
Removing the pedals is easy but then it looks like this:
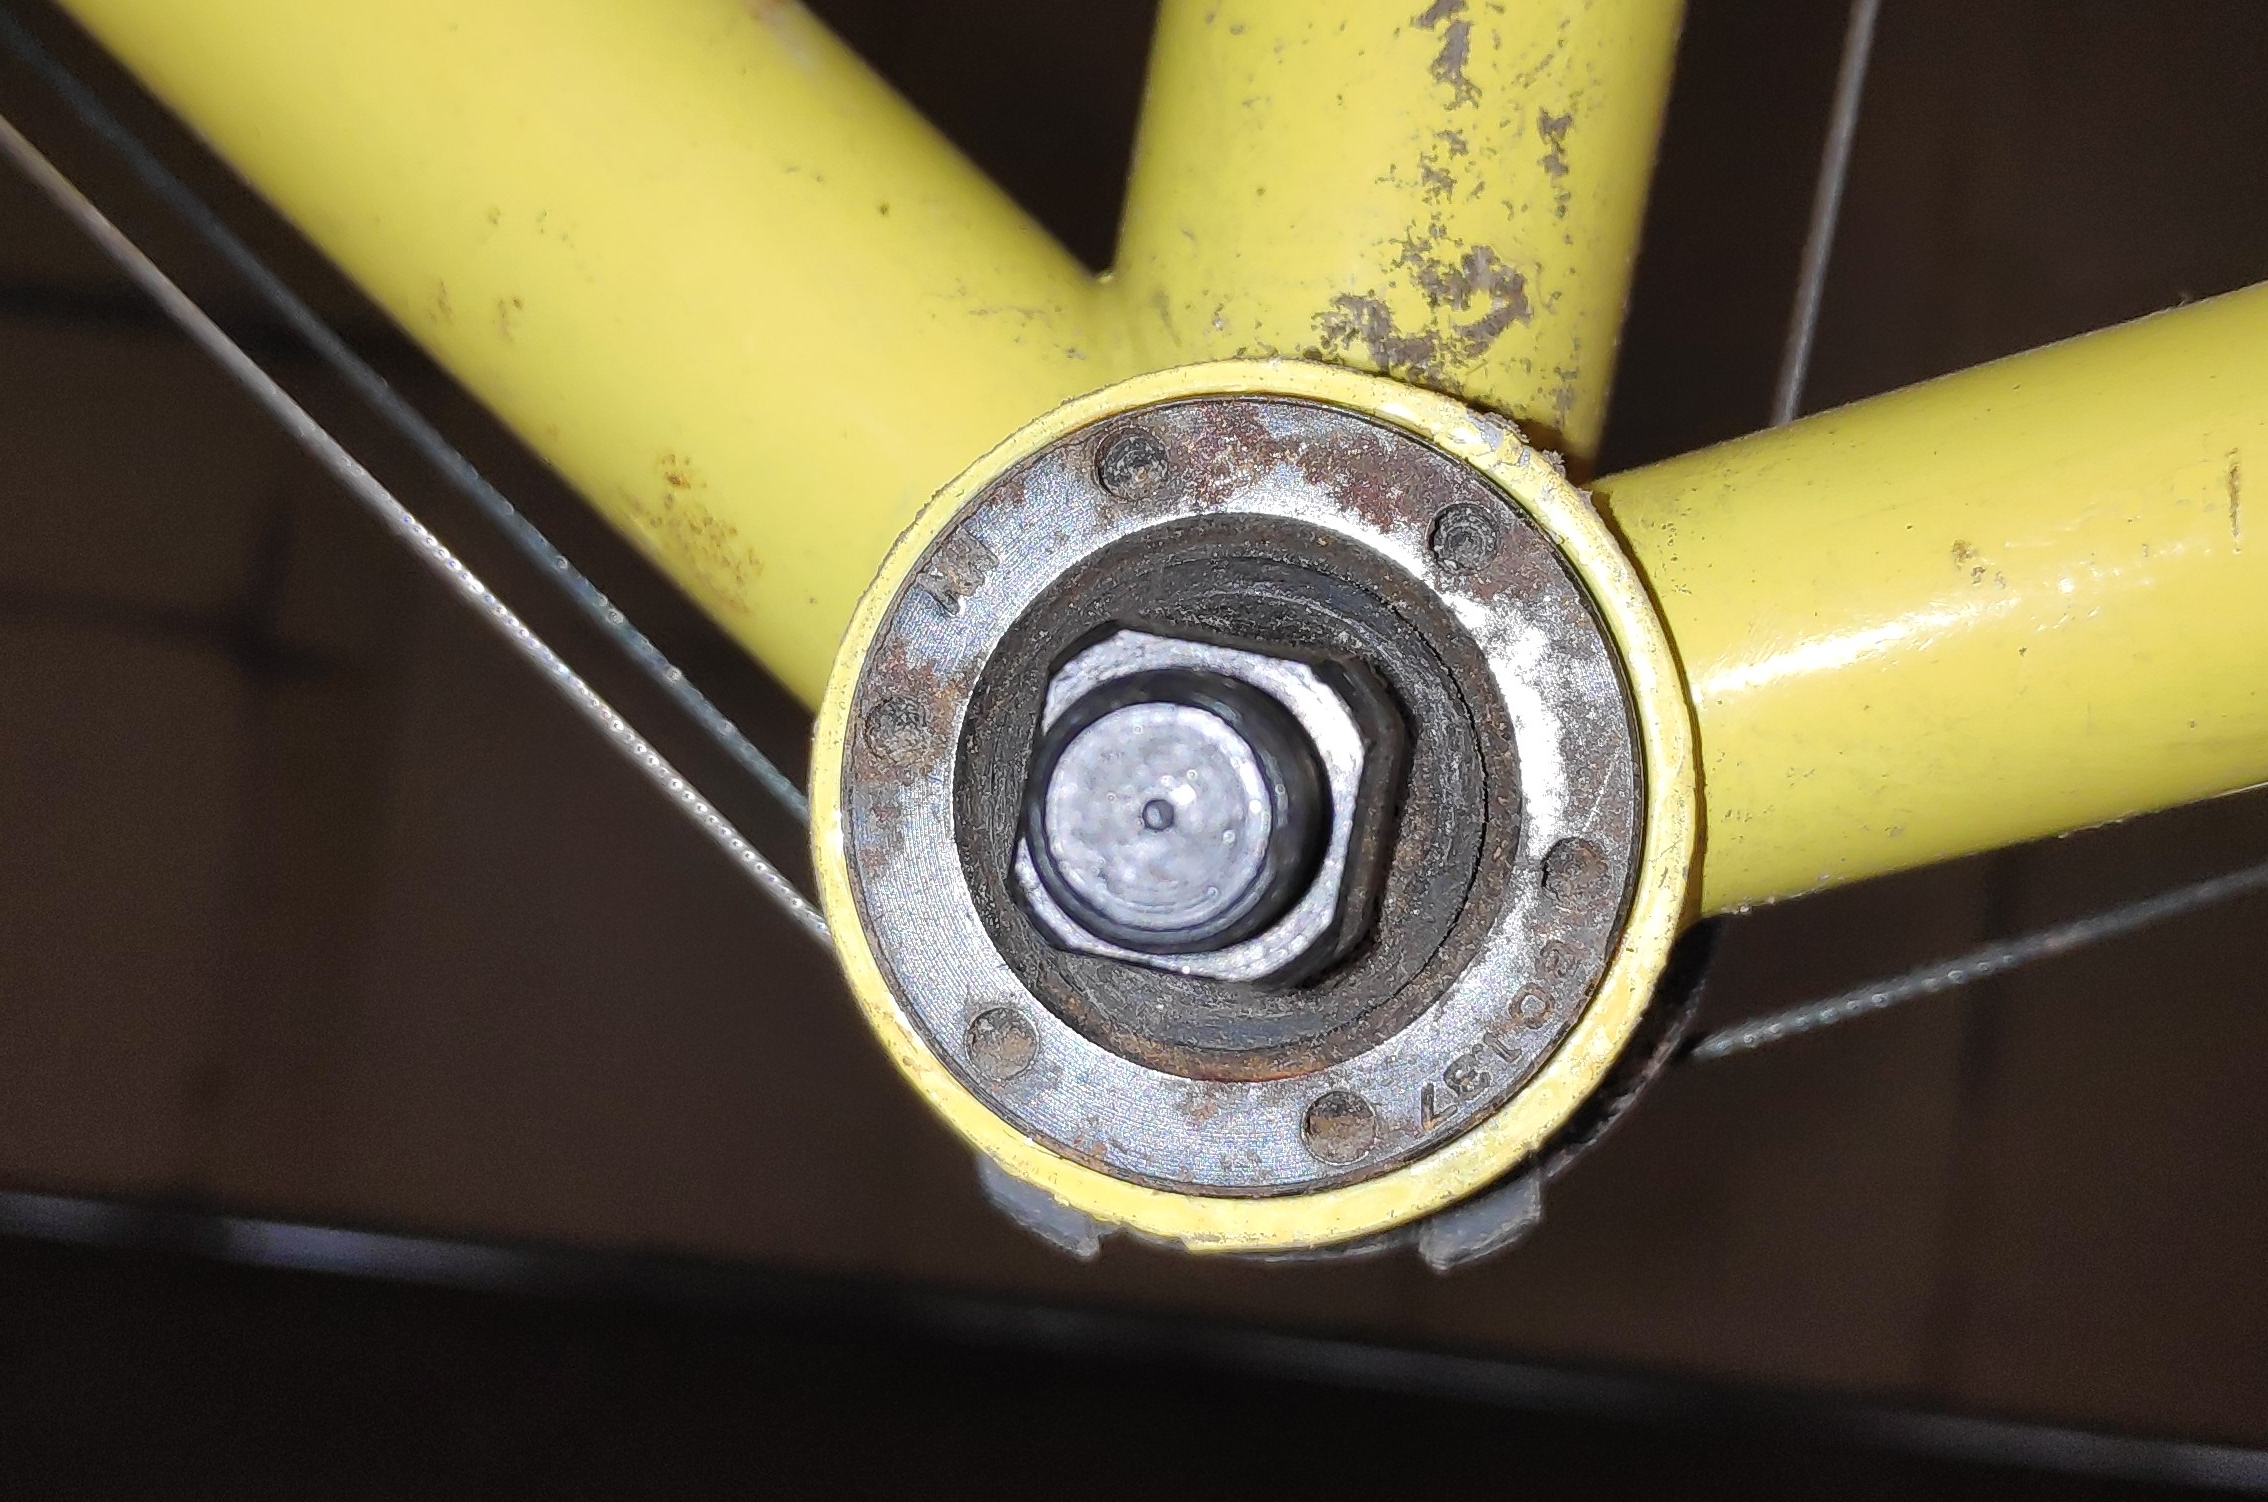
See the amount of rust and how little margin there is for a bottom bracket removal tool. It never worked, despite using WD40 and forcing a lot. A better tool was needed.
The homemade BB tool
My step dad was working in a steel foundry. I described the problem and Sheldon Brown (yes again this amazing man) adviced a third option to remove rusty BB fro the inside. My step dad then welded a long steel bar to a heating tube with a tight bolt. It was amazing and thanks to him, I got it out!
Setup
Once in place, it looked like this. The non transmission part, I attached a wrench to block it on the frame.
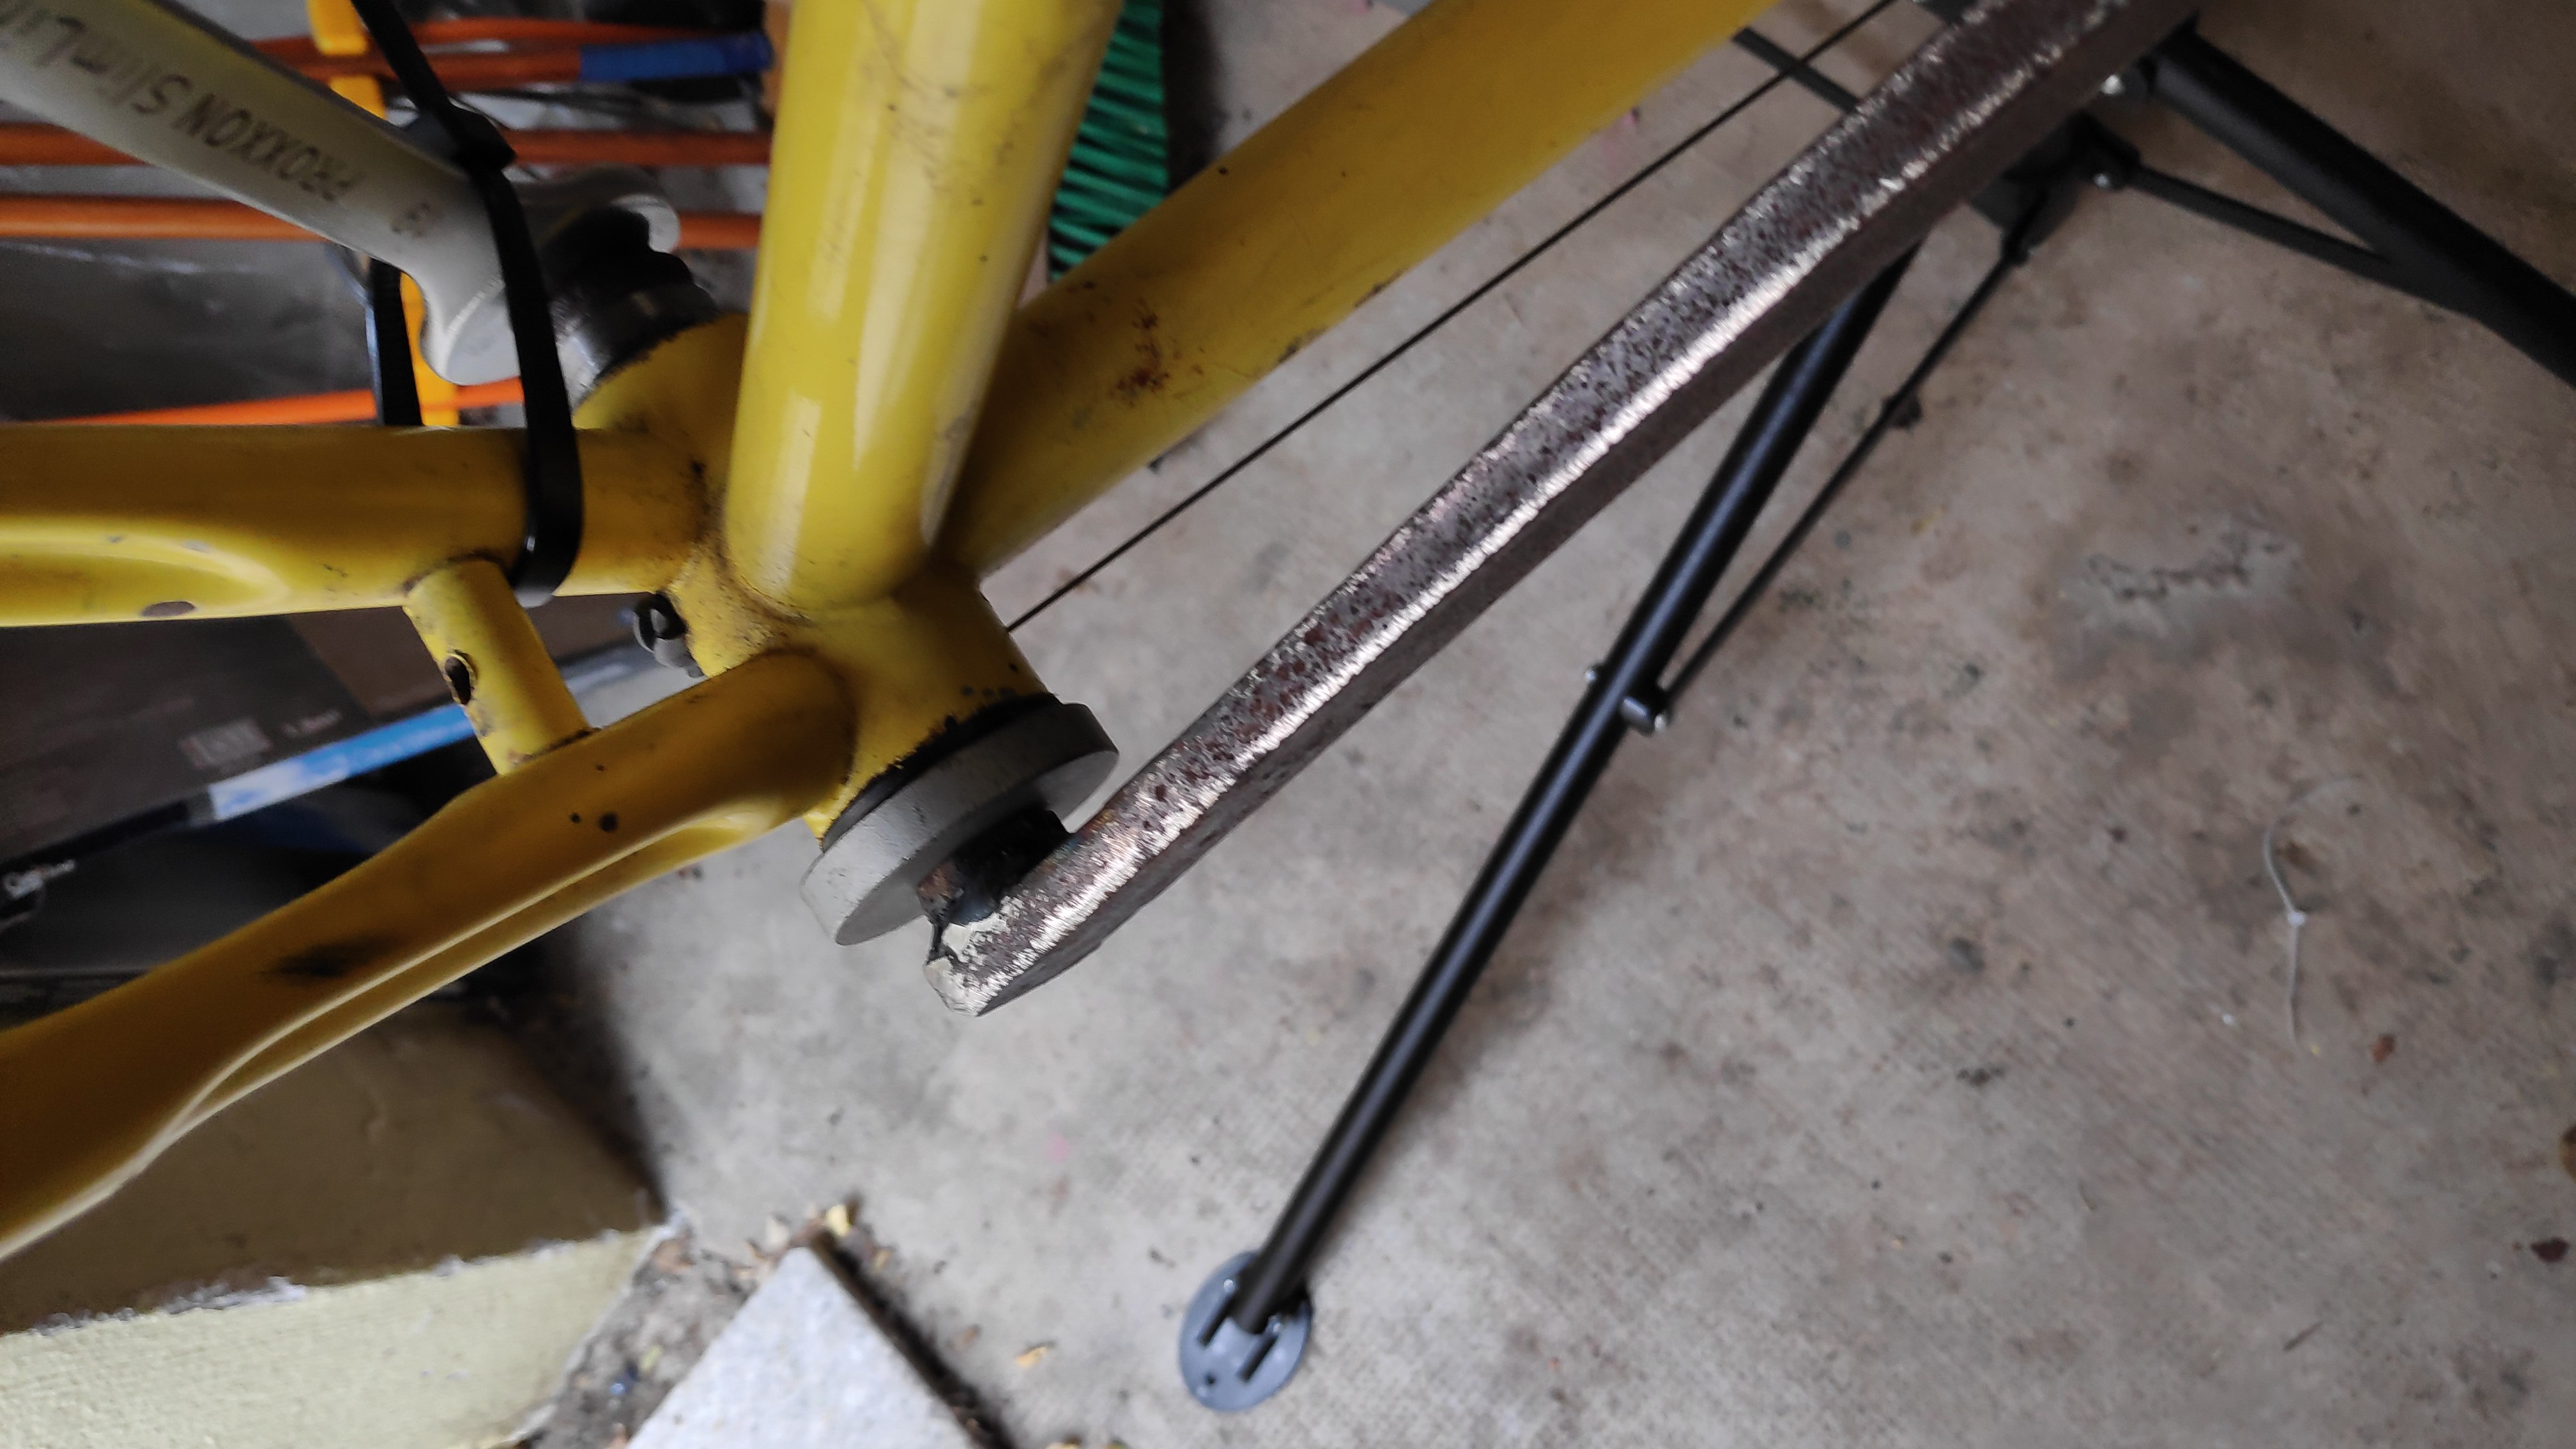
Then I followed my step-dad advice, don’t push like mad but hammer it, the shocks will make it. He was right.
The BB cup, moving in motion
Outcome
Check out this damned piece of rust !
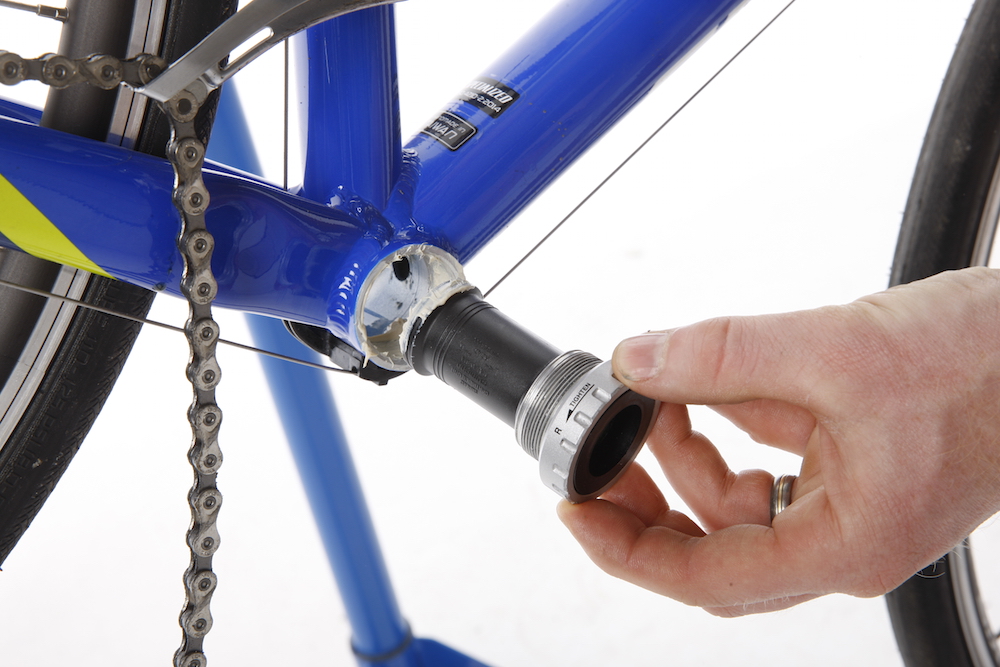
The new bottom bracket once in place with the tool to screw it:
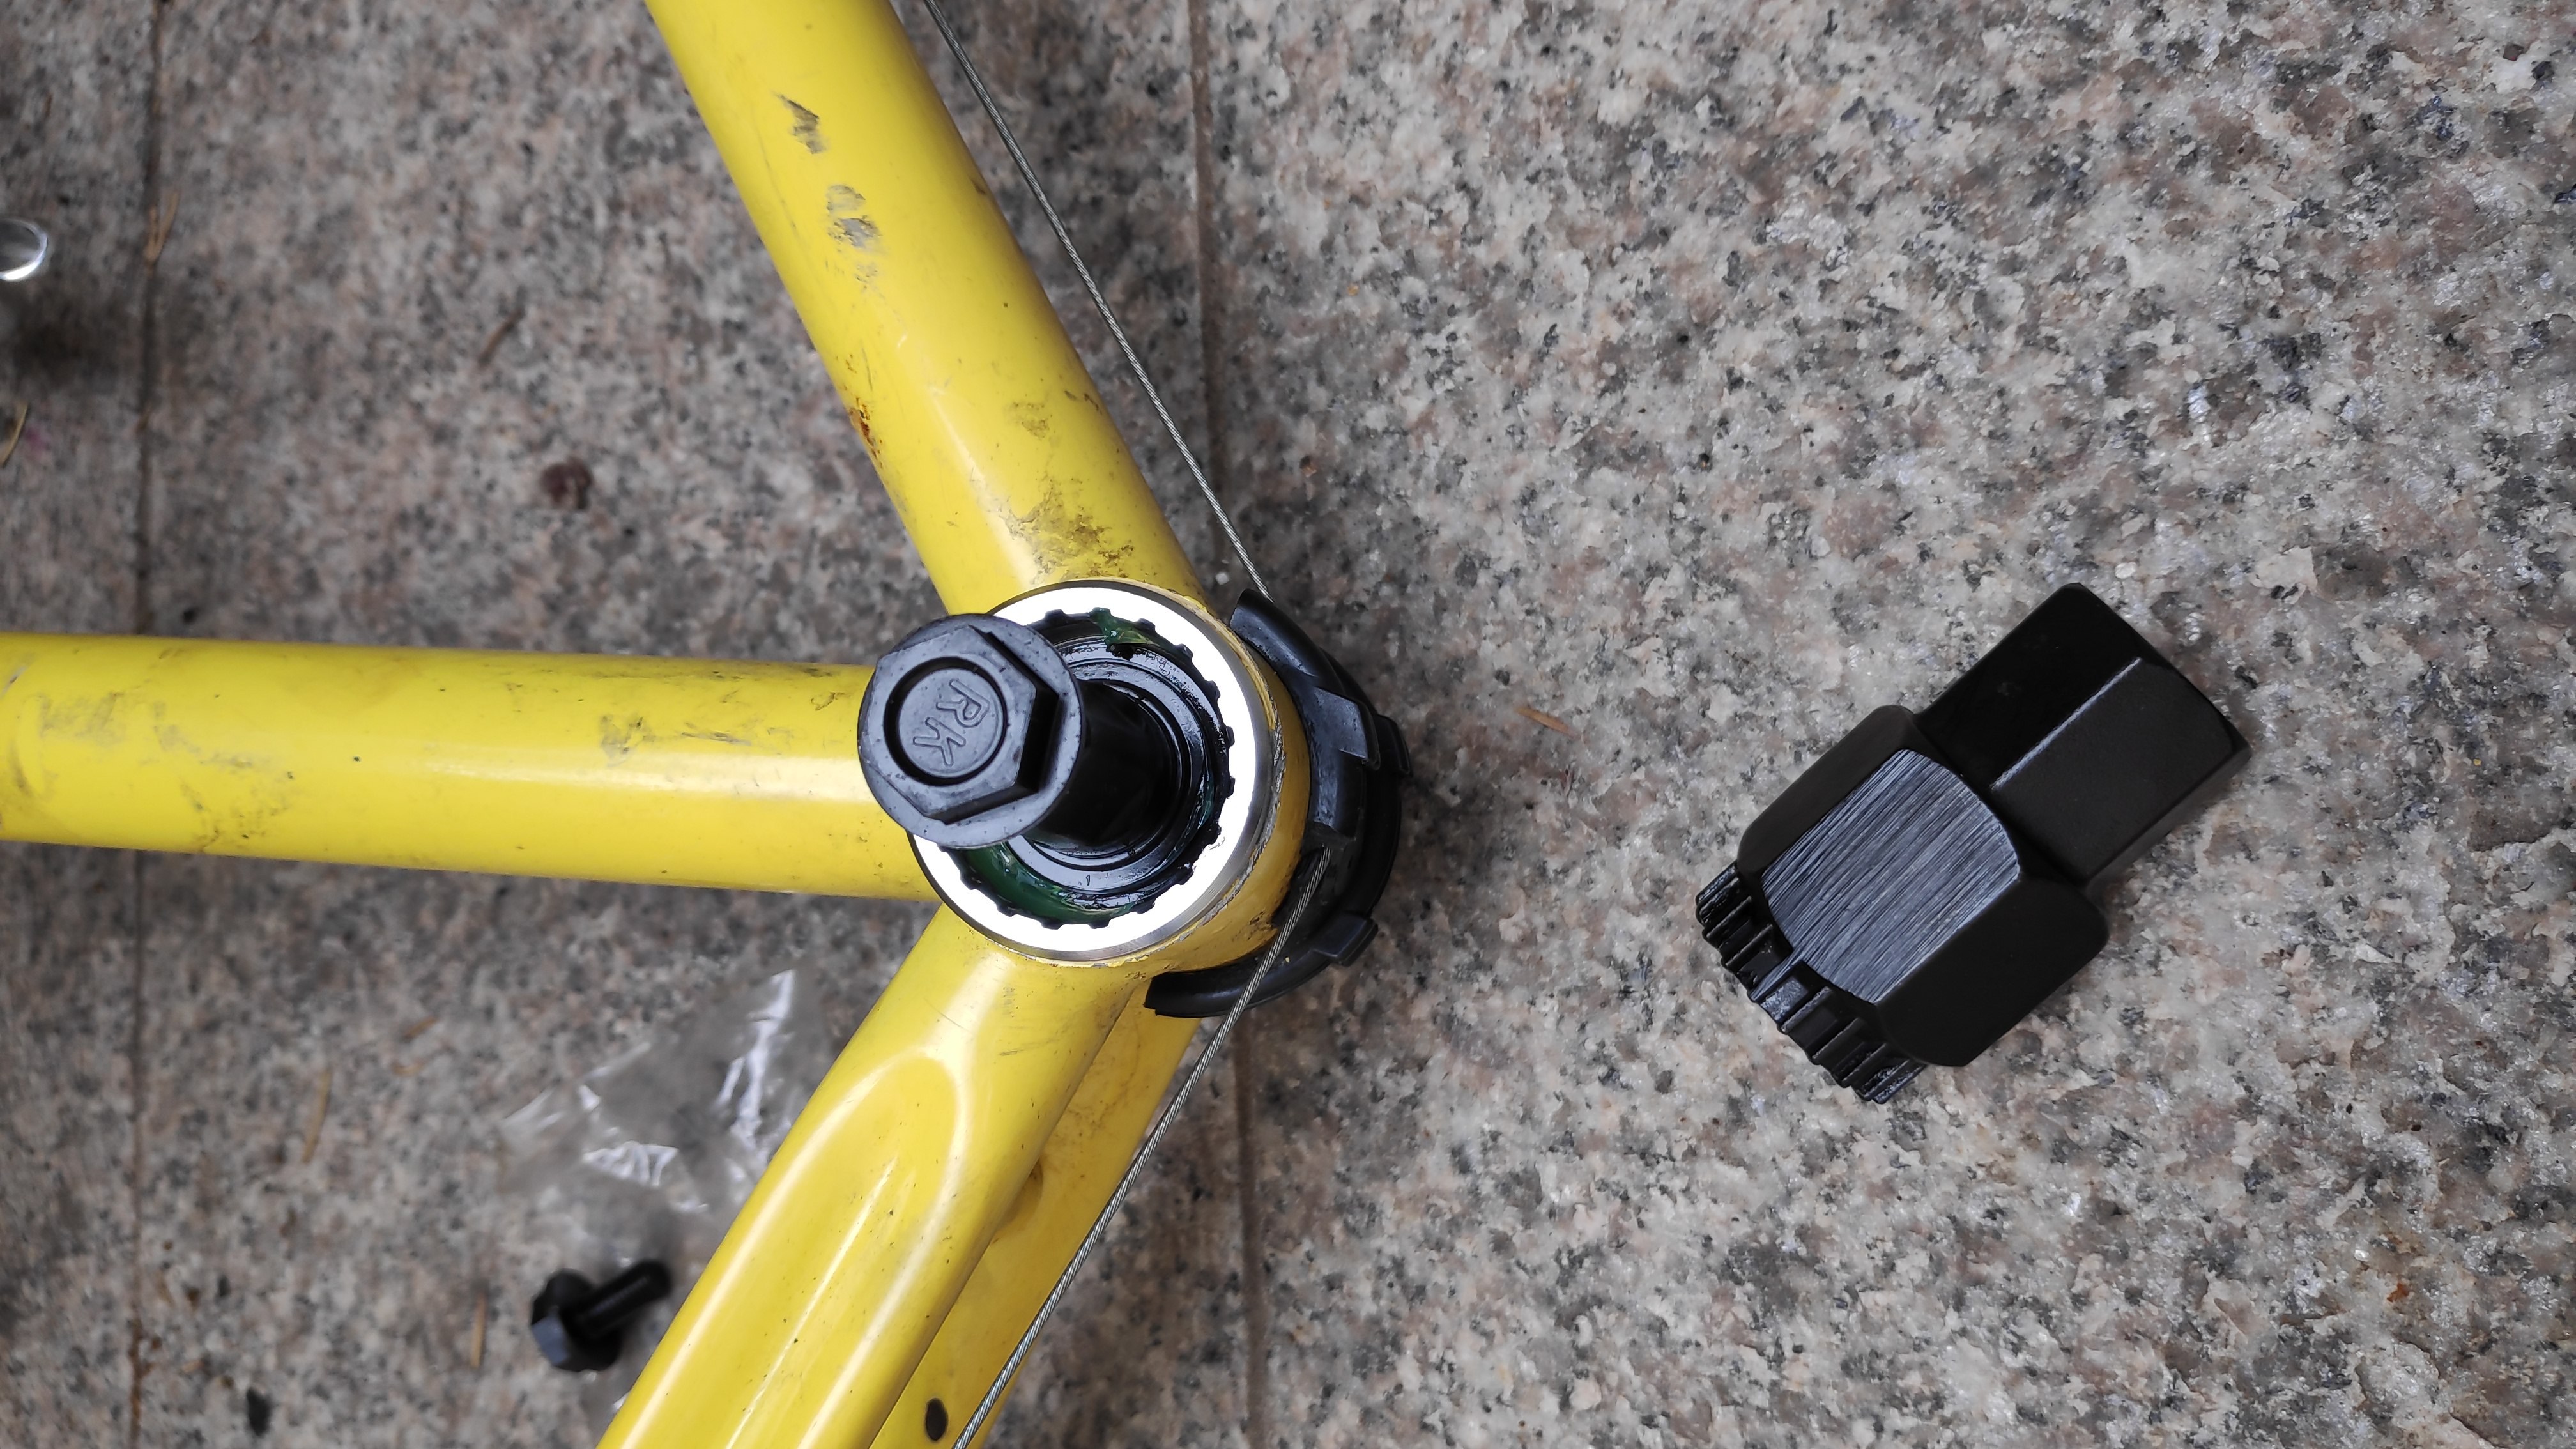
What a journey, that was a massive amount of work and stress but was worth it!